Easy Breezy Bernadette Style Vest Caron Latte
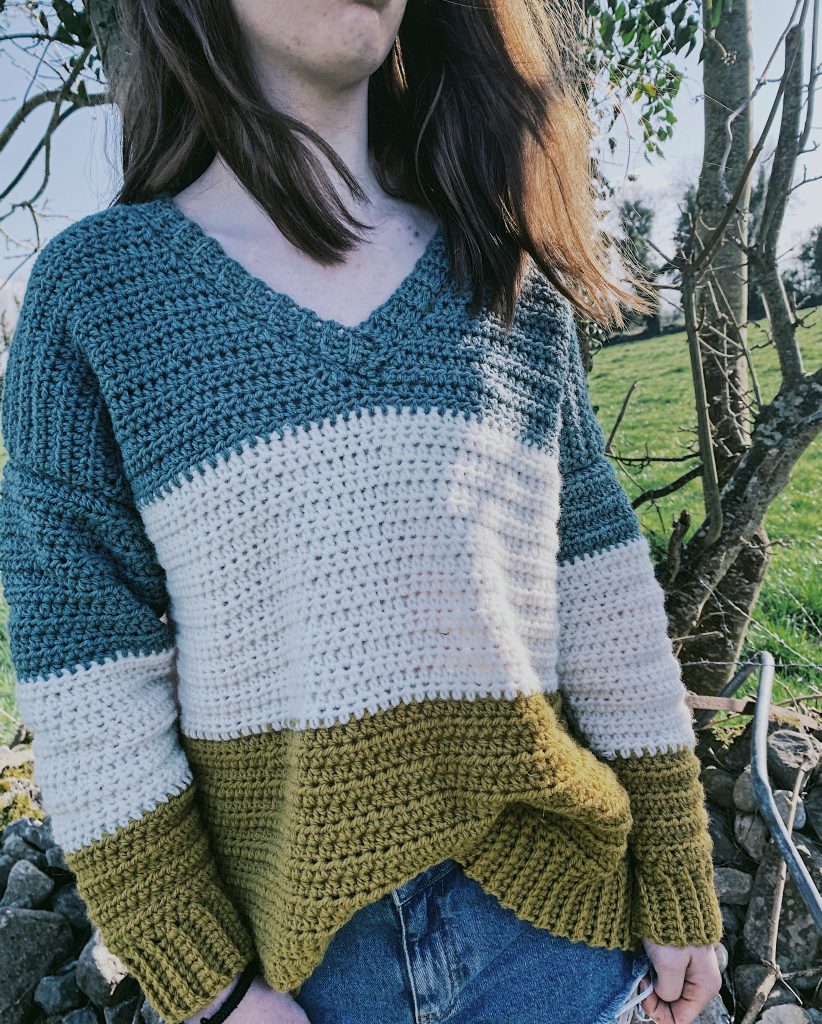
I'm so excited to share with you all my latest crochet design- the Crochet V Neck Sweater.
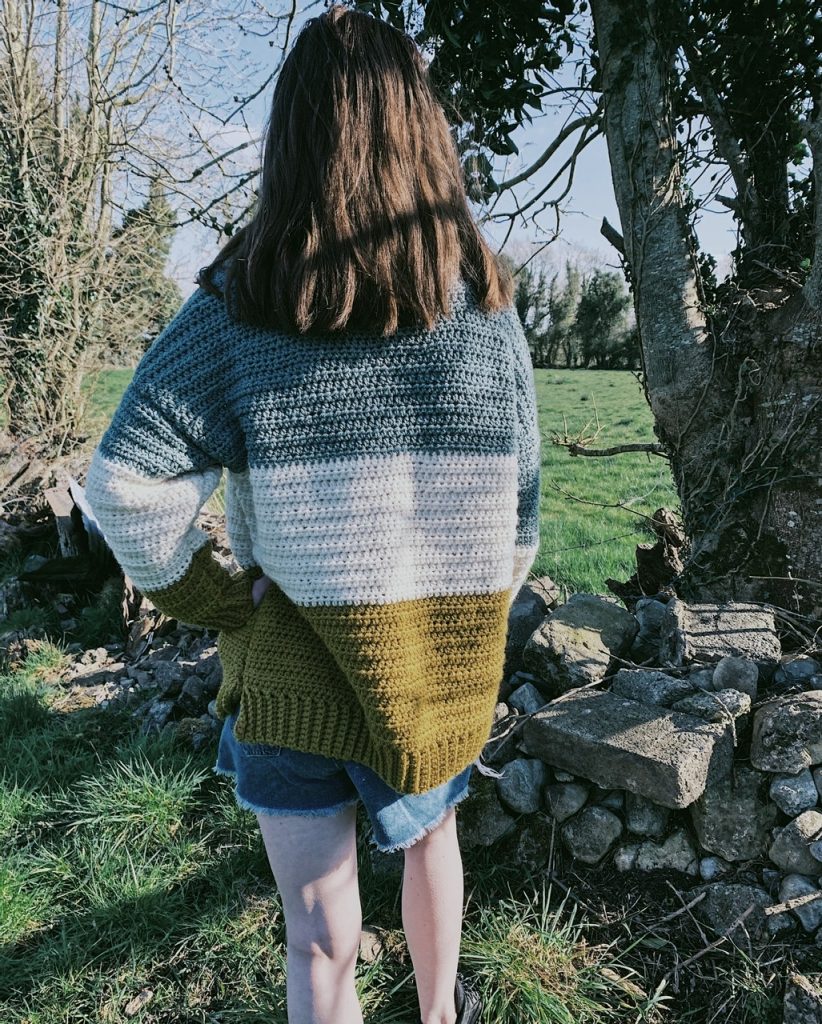
This crochet v neck sweater is designed bottom up and made with four panels; the back, front and two sleeves. The sweater is designed to be over sized, with a 10″ positive ease so please keep that in mind when choosing your size. For a more fitted crochet sweater I suggest you go down a size or use a smaller hook.
Sizing: S(M,L,XL,2XL,3XL,4XL,5XL)
To fit bust: 34(38,42,46,50,54,58,62)"
Materials:
Any weight 4 yarn. I used about 600g for the size small. More yarn will be needed for larger sizes. I would suggest 600g for M, 650-700g for L and XL, 700-750g for 2XL and 3XL, and 750-800g for 4XL and 5XL.
6mm crochet hook
Yarn needle, stitch markers and a measuring tape.
Back panel:
Row 1: Ch 9, sc into 2nd ch from hook, sc in every chain across. Turn.
Row 2: Ch 1, sc in BLO in every st across. Turn.
Repeat row 2 until you have a total of 66(72,78,84,90,96,102,108) rows.
Now we will work along the long side of the ribbed band:
Ch 1 (never counted as a stitch), and make 66(72,78,84,90,96,102,108) hdc evenly across. Turn.
Next row: Ch 1, hdc in every st across. Turn.
Repeat last row until you have a total of 52 rows of hdc completed. Fasten off leaving a long tail.
Front panel:
Do the same as for the back panel but stop at row 34.
Now place a stitch marker on stitch number 33(36,39,42,45,48,51,54). You are essentially marking the middle stitch.
Next row: Ch 1, hdc into next 31(34,37,40,43,46,49,52) sts, then hdc2tog over last 2 sts. Turn.
Next row: Ch 1, hdc in every st across. Turn.
Next row: Ch 1, hdc across until 2 sts remain, hdc2tog. Turn.
Next row: Ch 1, hdc in every st across. Turn.
Repeat last 2 rows for a further 14 rows. Fasten off leaving a long tail.
For the other side:
Attach your yarn to the 2nd stitch from the other side (the centre to where the "v" will be.
Row 1: Ch 1, hdc into remaining 32(35,38,41,44,47,50,53) sts. Turn.
Row 2: Ch 1, hdc in every stitch across. Turn.
Row 3: Ch 1, hdc2tog, hd in all remaining sts. Turn.
Row 4: Ch 1, hdc in every st across. Turn.
Repeat rows 3-4 for a further 14 rows. Fast off leaving a long tail.
Sleeves (make 2):
Ch 9
Row 1: sc in 2nd ch from hook, sc to end. Turn.
Row 2: Ch 1, sc in BLO in every st across. Turn.
Repeat row 2 for a total of 26 rows. This will be the ribbed sleeve cuff. If you need it bigger add more rows here but make sure you have an even number of rows.
Now working along the long side of the ribbed cuff, ch 1, and make 26 hdc evenly across. Turn.
Next row: Ch 1, 2hdc into first st, hdc in every st across until 1 st remains, 2hdc into last st. Turn.
Next row: Ch 1, hdc in every st across. Turn.
Repeat last 2 rows until you have 54(56,60,62,68,74,78,78) sts.
Next row: Ch 1 hdc in every st across. Turn. Repeat this row until your sleeve measures about 17 inches long. Fasten off leaving a long tail.
Assembly:
Lay the back panel on a flat surface. Place the front panel on top and slip st the two pieces together at the top of the shoulders. Now lay the entire piece out flat and grab a sleeve. FInd the middle st of the sleeve and place a stitch marker into that stitch. Now line the marker up with one of the shoulder seams and attach. Now slip stitch the sleeve to the main body of the sweater. Do the same for the other side. Next fold your sweater over and slip st up along the sides. Fasten off and weave in all ends. Turn your sweater right side out now.
Neck ribbing:
Attach yarn to the centre stitch of the "v". Ch 1 and sc evenly along the neck opening. When you have gone all the way around slip stitch into the first sc you made.
Continuing from where you are now ch5. Sc into 2nd ch from hook, sc into next 3 chains, slip st into next 2 sc. Turn.
Next row: sc in BLO of next 4 sc. Turn.
Next row: Ch 1, sc in next 4 sts BLO, slip st into next 2 sc. Turn.
Repeat last 2 rows all the way around the neck line.
When you get all the way around fasten off and leave a long tail for sewing. Attach a yarn needle to your long tail. Make a criss cross with the 2 "flaps" and sew into place.
Weave in all your ends and you are now finished.
Source: https://www.crochetwithcarrie.com/crochet-v-neck-sweater/
0 Response to "Easy Breezy Bernadette Style Vest Caron Latte"
Post a Comment